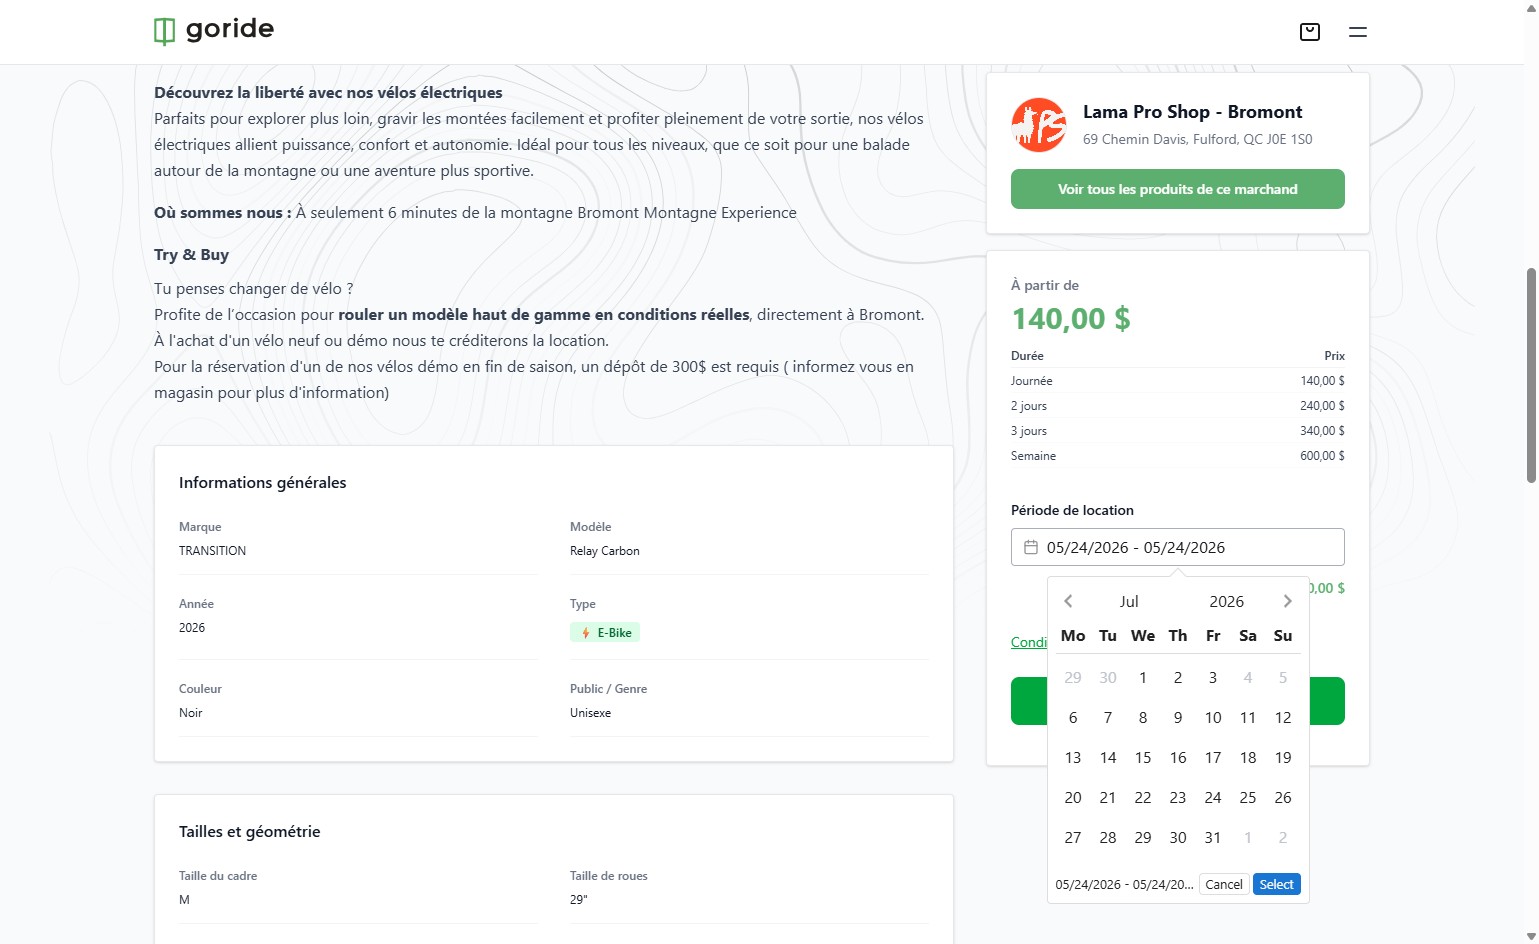
Step 1 — Go to Your Dashboard and Open Your Inventory
Navigate to your GoRide merchant dashboard and click on "Mon inventaire" to access your rental listings.
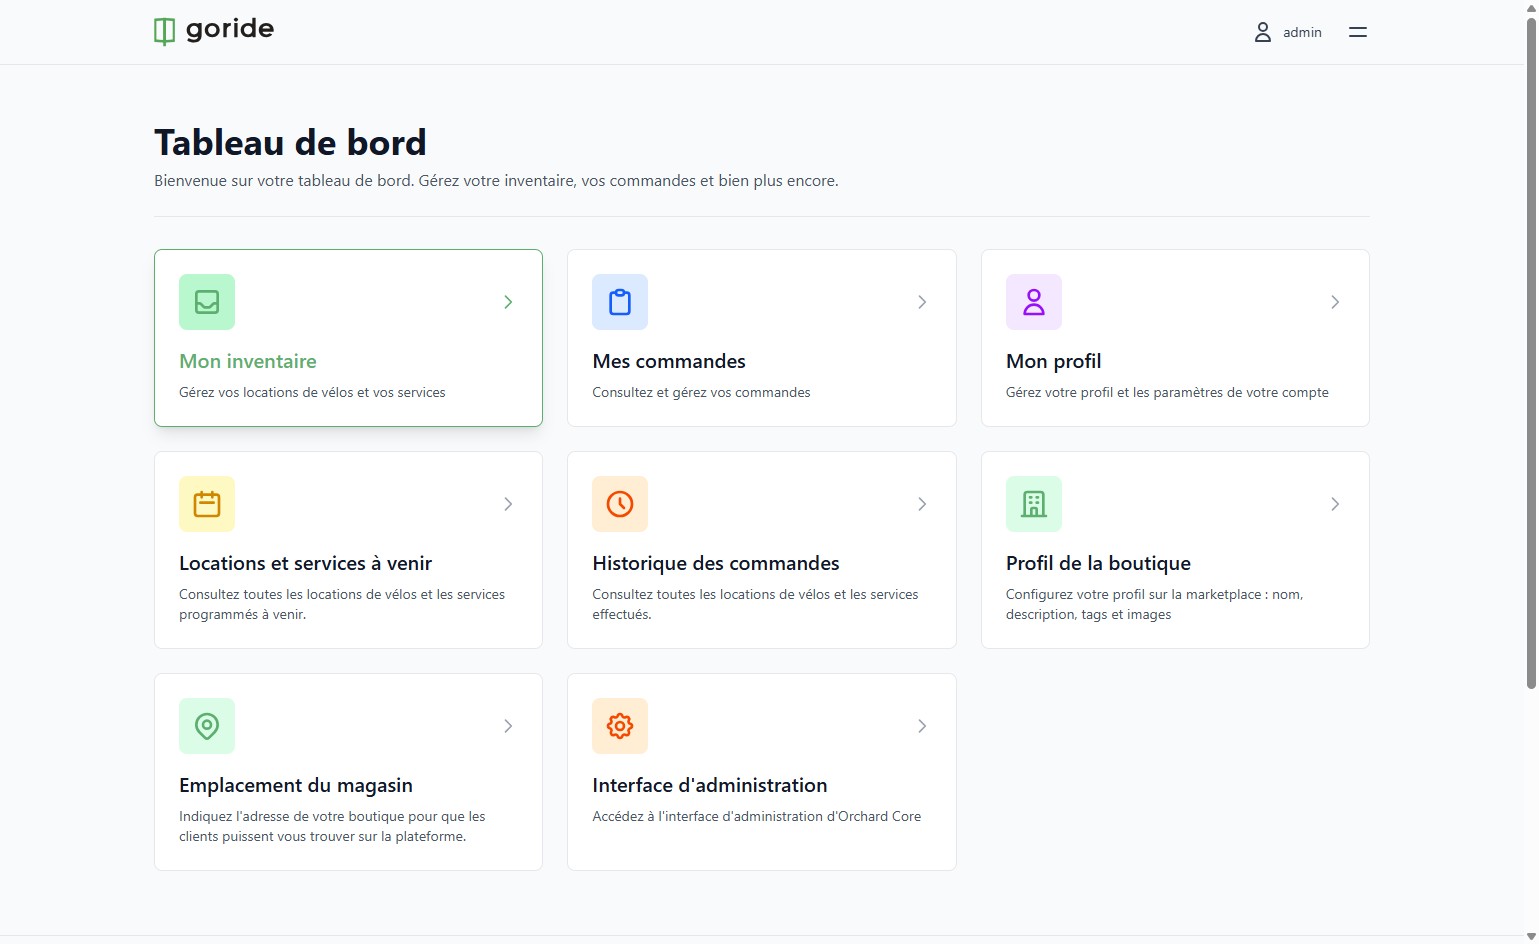
Step 2 — Open the Options Menu for a Product
Click the three-dot icon on the listing you want to add date exclusions to.
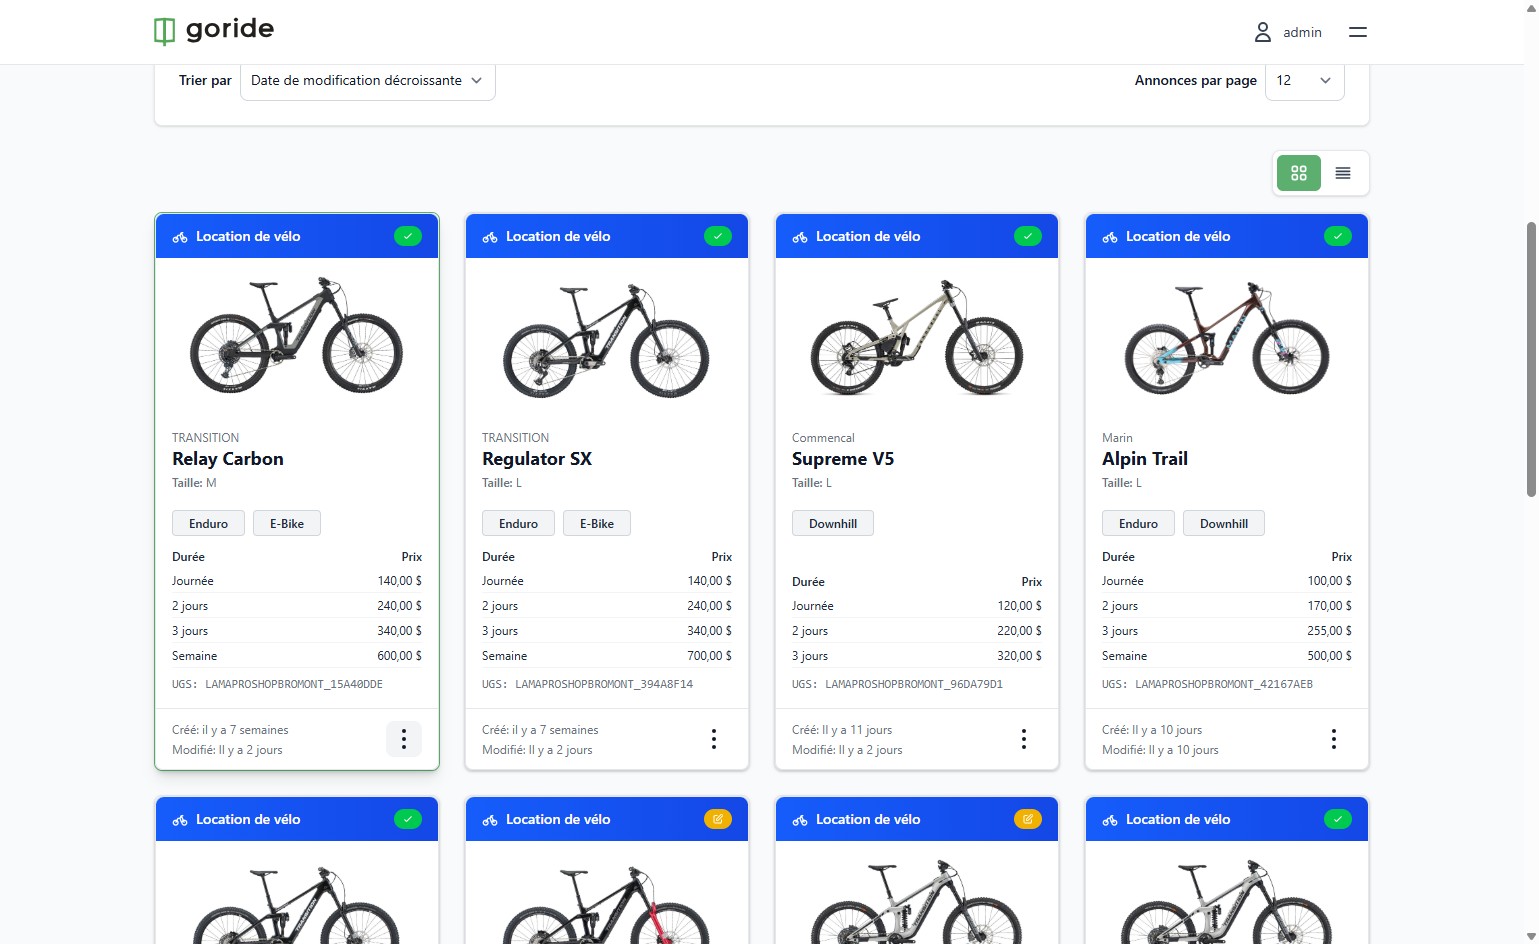
Step 3 — Open Excluded Dates
Click "Dates exclues" from the dropdown menu.
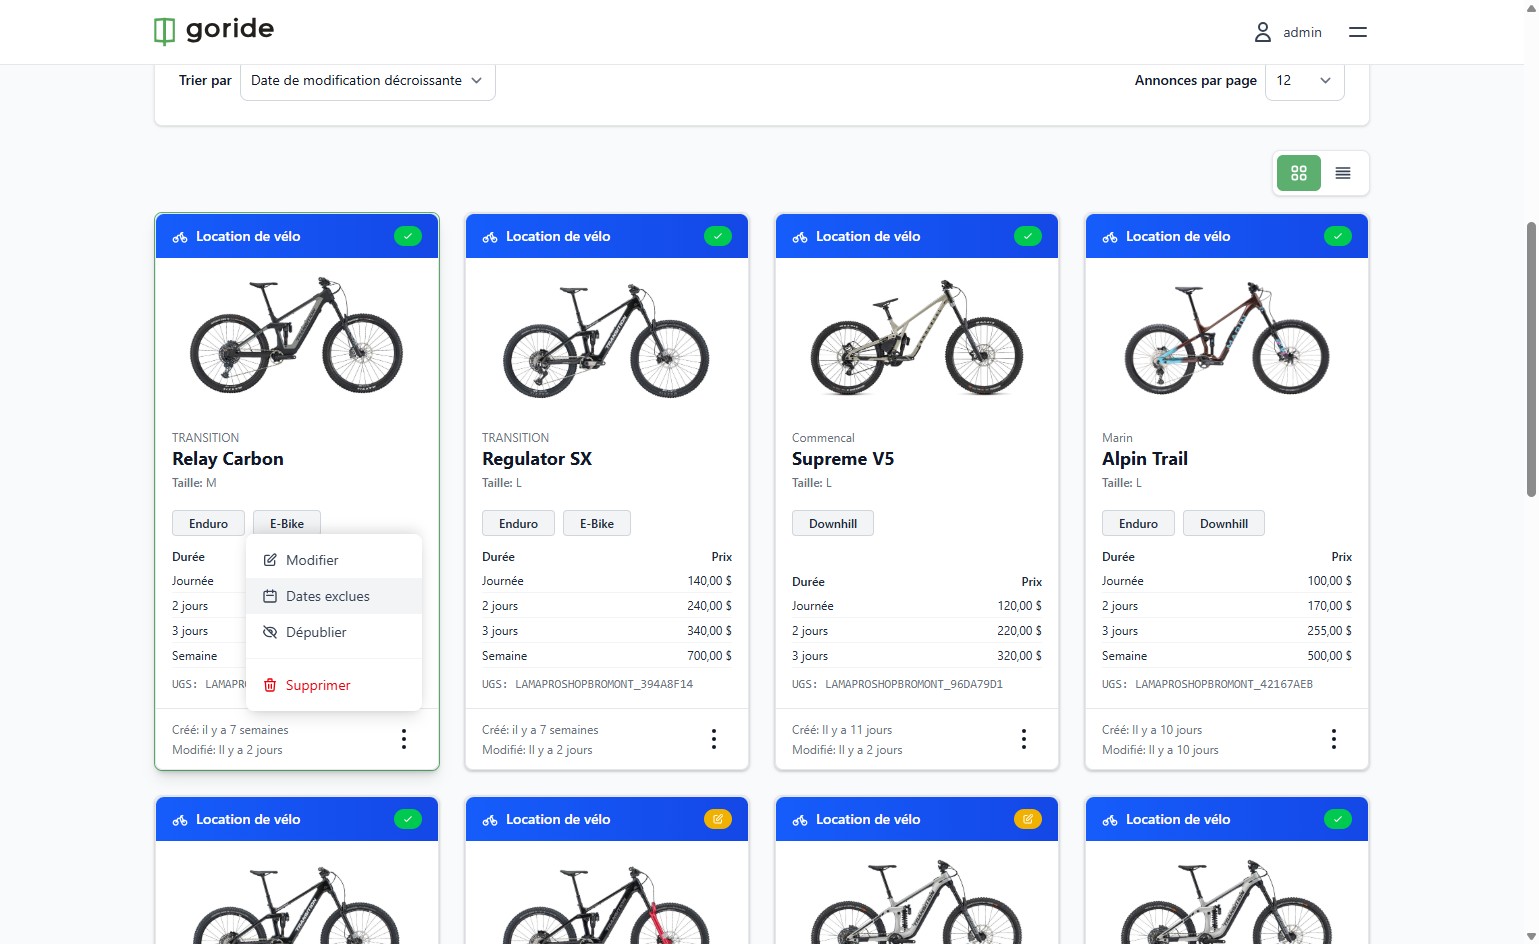
Step 4 — Add a New Exclusion
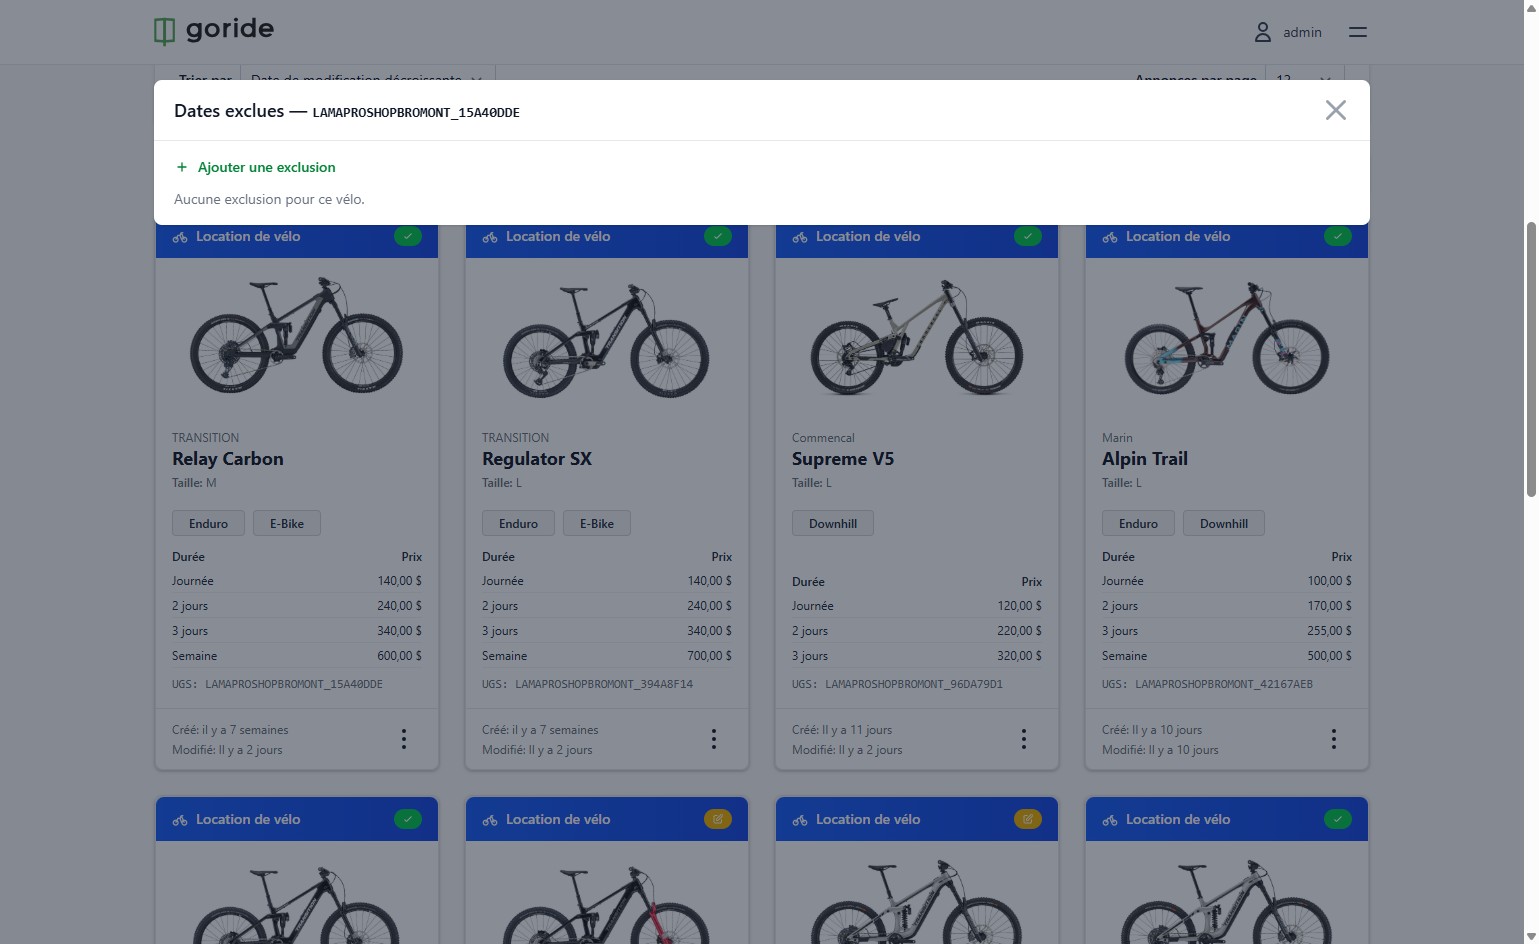
In the pop-up that appears, click "Ajouter une exclusion" to open the exclusion form.
Step 5 — Fill In the Exclusion Details and Save
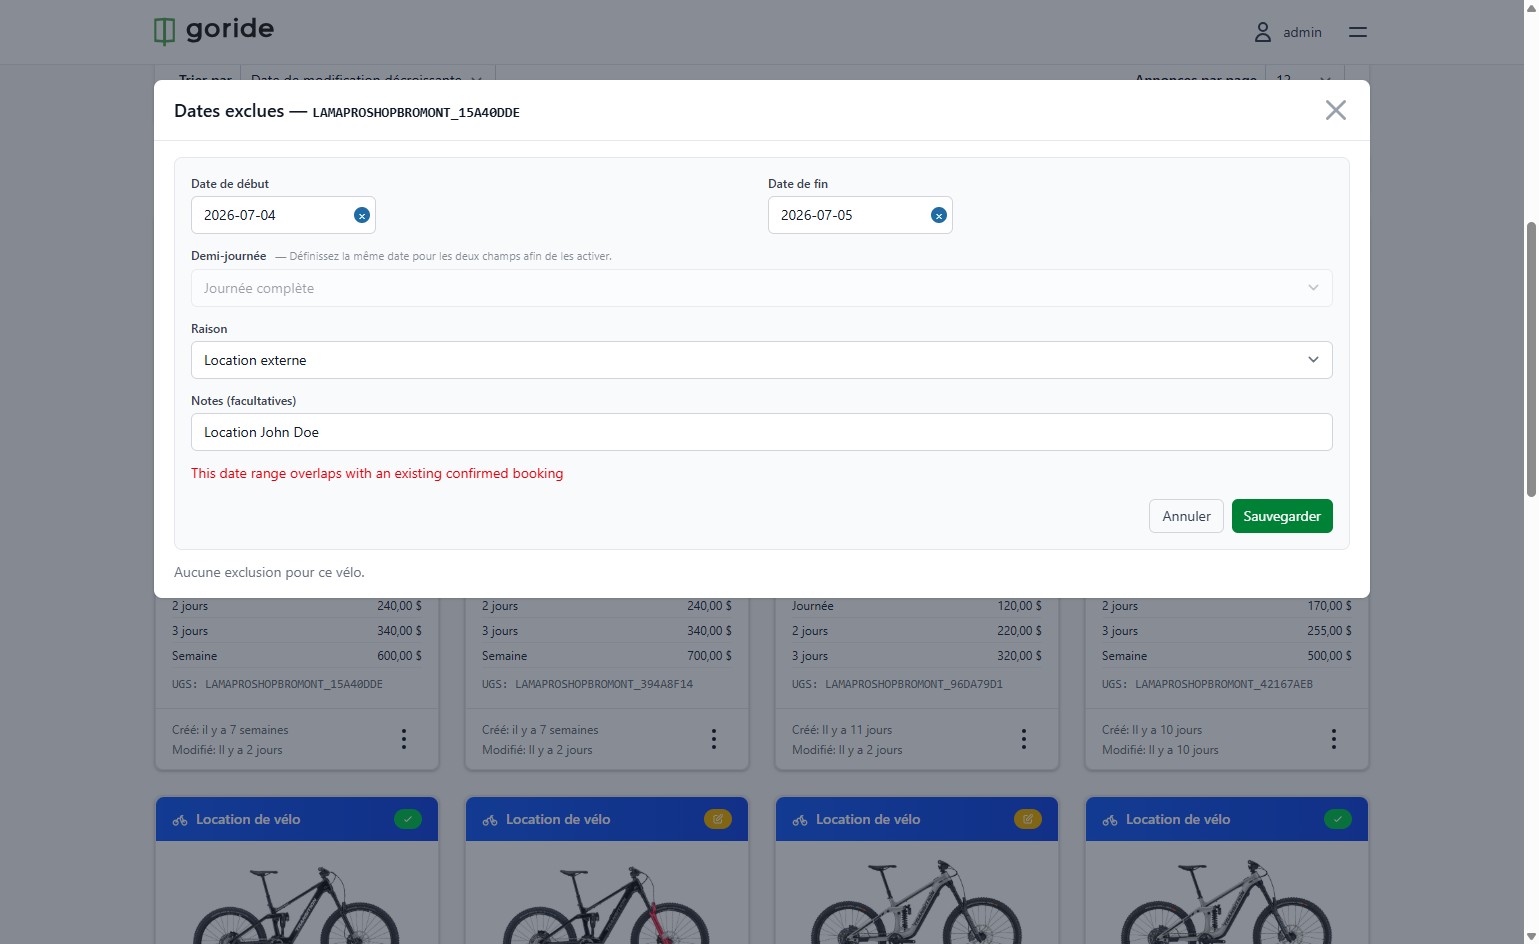
Enter a start date, end date, a reason (external rental, maintenance, or other), and an optional note, then click "Sauvegarder".
Step 6 — Set a Half-Day Exclusion (Optional)
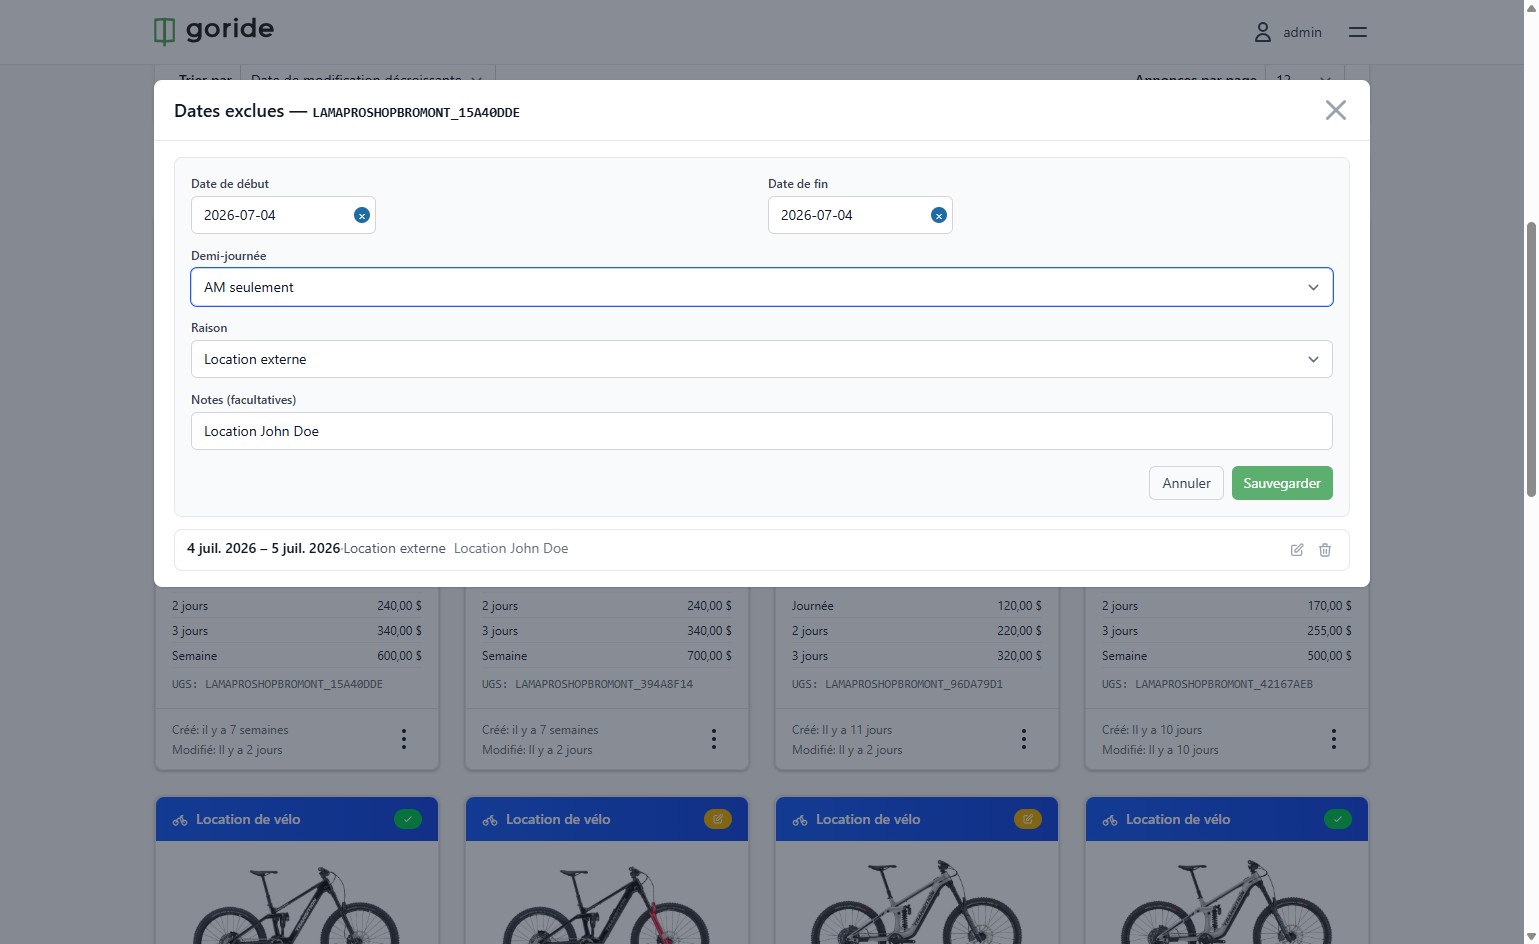
To block only part of a day, set the start and end date to the same date, then select either "AM seulement" or "PM seulement" from the half-day dropdown.
Step 7 — Review Your Saved Exclusions
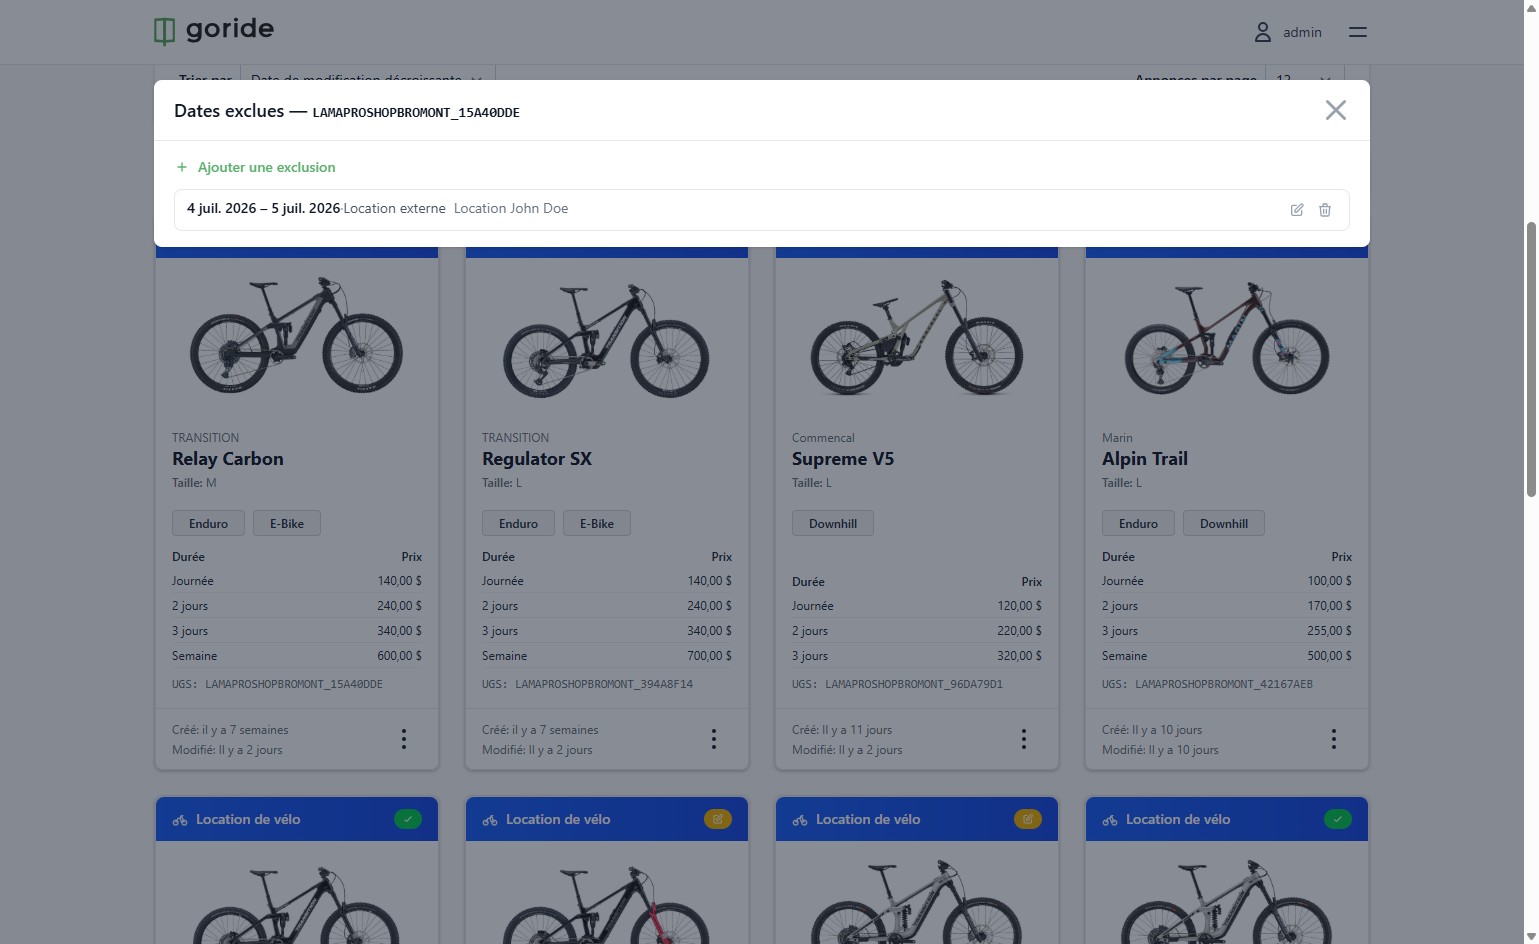
Your date exclusion is now saved and visible in the product's exclusion list.
Exclusion Added
Customers will no longer be able to book that equipment during the blocked period.